Pastel nails feel like a big hug in a glass. Spring is just around the corner, harmattan is setting in February (confused), so it’s time to let your dark colors go and make sweet statements with your nails.
Pastel nail colors look nude, but with a bit more attitude. The shape of your nails can make it more interesting. For a more edgy look, go for the coffin- or stiletto-shaped nails. Round-shaped nails are my preference, especially if they’re natural.
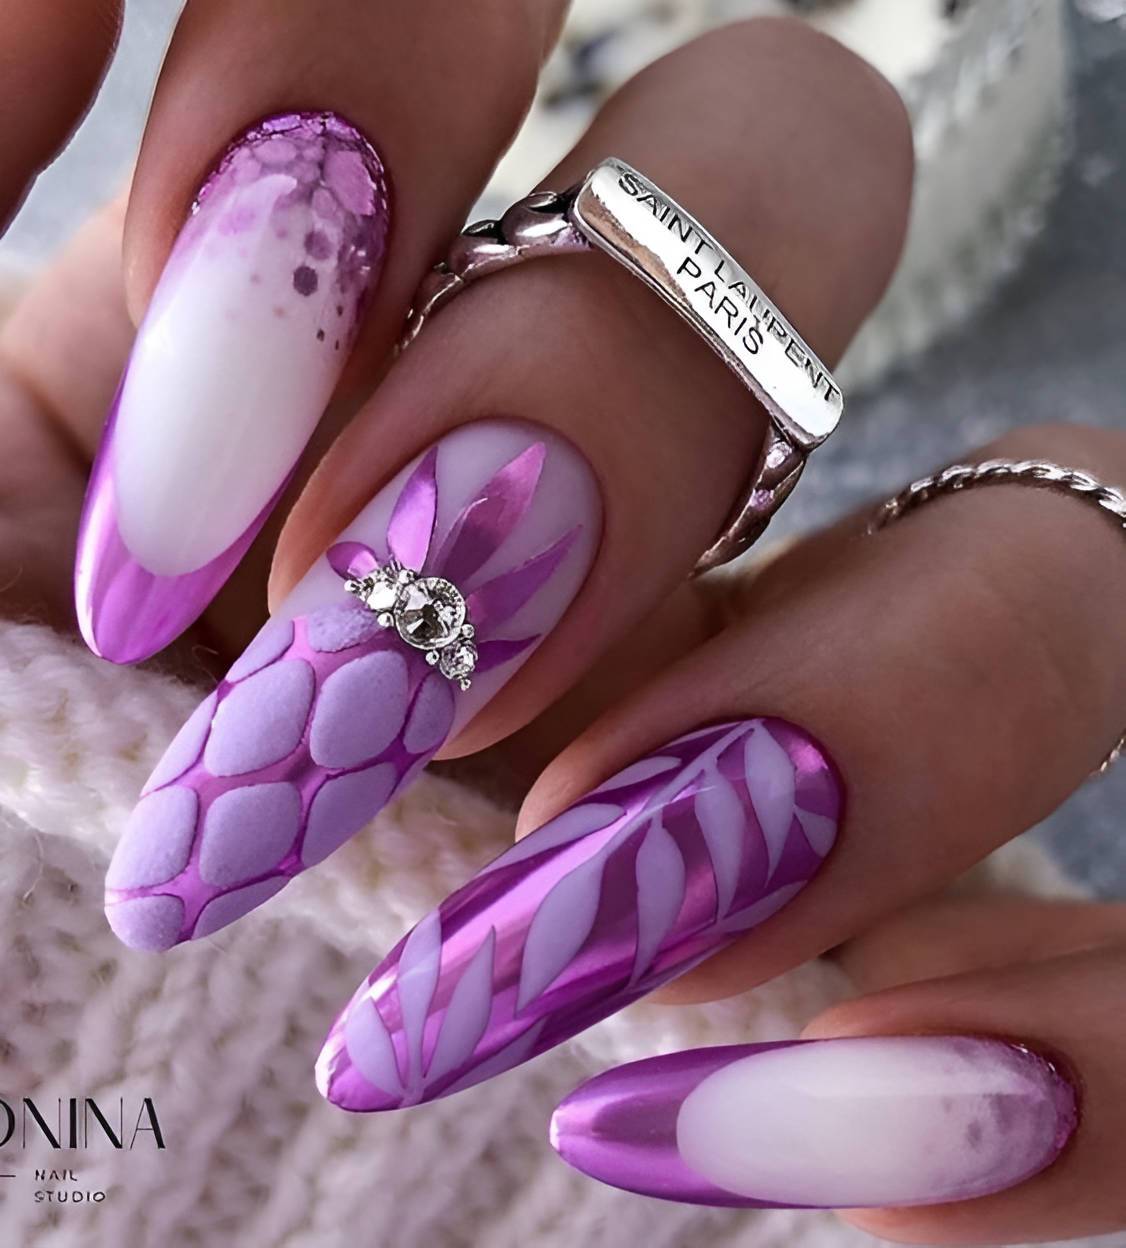
You will get the shiniest and warm feeling possible with a glossy or gel finish. However, you can also opt for a matte finish if you prefer that look.
It doesn’t necessarily have to be expensive. You can make pastel colors at home using your manicure tools, or in a salon that has covid restrictions.
Read also: These are the 23 Beautiful Red Ombre Nails Ideas and Designs You Should Try
This Is How To Fix Pastel Nails Yourself In 5 Steps
1. Get Your Tools Ready
Make sure you have the correct tools before you begin your pastel manicure. You should have the following tools:
A UV or LED lamp
Nail file
Nail scissors
Basecoat & topcoat
You can shape your nails into the shape you prefer. You can now move on to the next, more fun step.
2. Use A Base Coat
Priming is the number one trick to ensure a manicure or makeup lasts a long time.
Before you move forward, make sure to prep your nails.
One layer of your base should be applied to clean and shape nails. Allow the base to dry for 60 seconds under your UV/LED lights. You can let your polish air dry for a few moments if it is gel polish. After your polish is primed and prepped, you can start the coloring process.
3. Add Your Pastel Gel/Normal Polish
It’s now time to create your pastel nails! You can choose any color you like, or mix and match different polishes. Start at the root of your nails and work your way up. You can get really creative if you like bright and noticeable colors. If you wish, you can paint each nail a different color.
4. Place It Under A UV Lamp Or Air Dry
Your UV lamp should be used to set the first coat of color for 60 seconds. You can add one more coat of your favorite gel shade and set it under your UV lamp.
To make sure it sticks, you should give it 120 seconds.
You can wipe your mistakes with a small tip. This step should be completed before you put your fingers into your LED lamp.
5. Use A Top Coat
Topcoats are essential to ensure that you achieve the best results. You can prolong the life of your manicure by using a topcoat. Apply one coat of varnish thicker and let it dry under the UV lamp for 60 seconds.
There are two options: glossy or matte. You can choose between matte or glossy. You should know that bright colors and pastels look best when they are as shiny as possible.
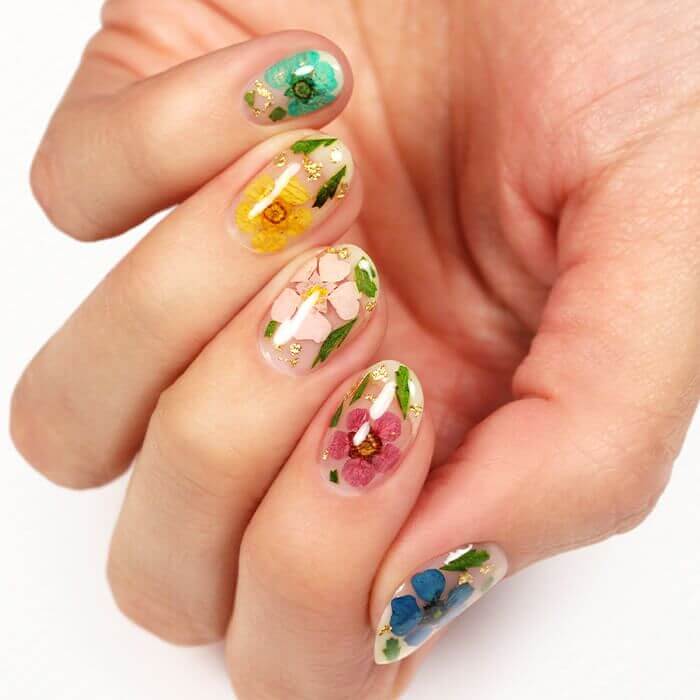
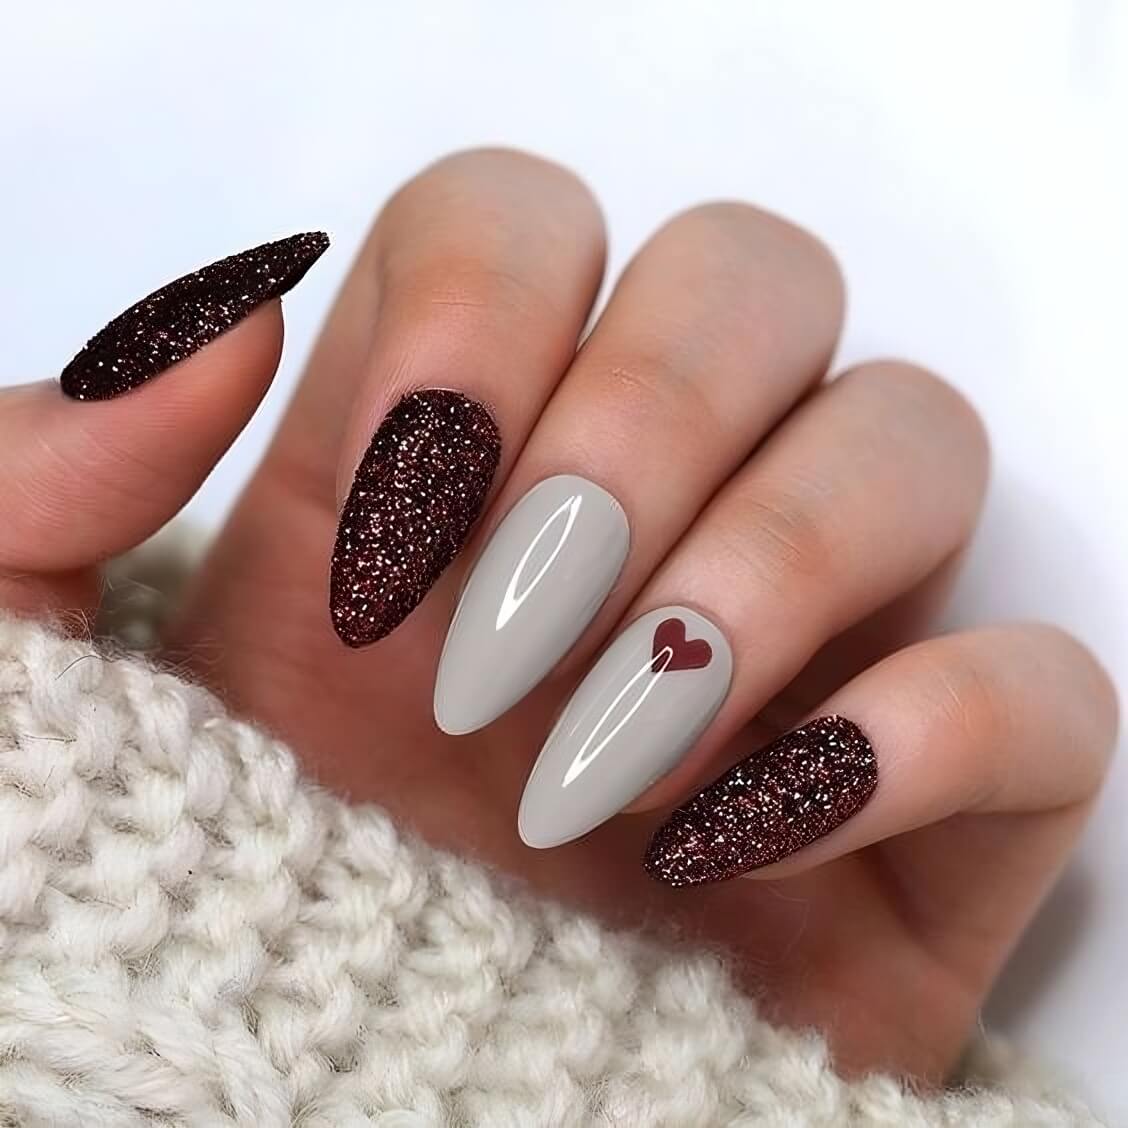
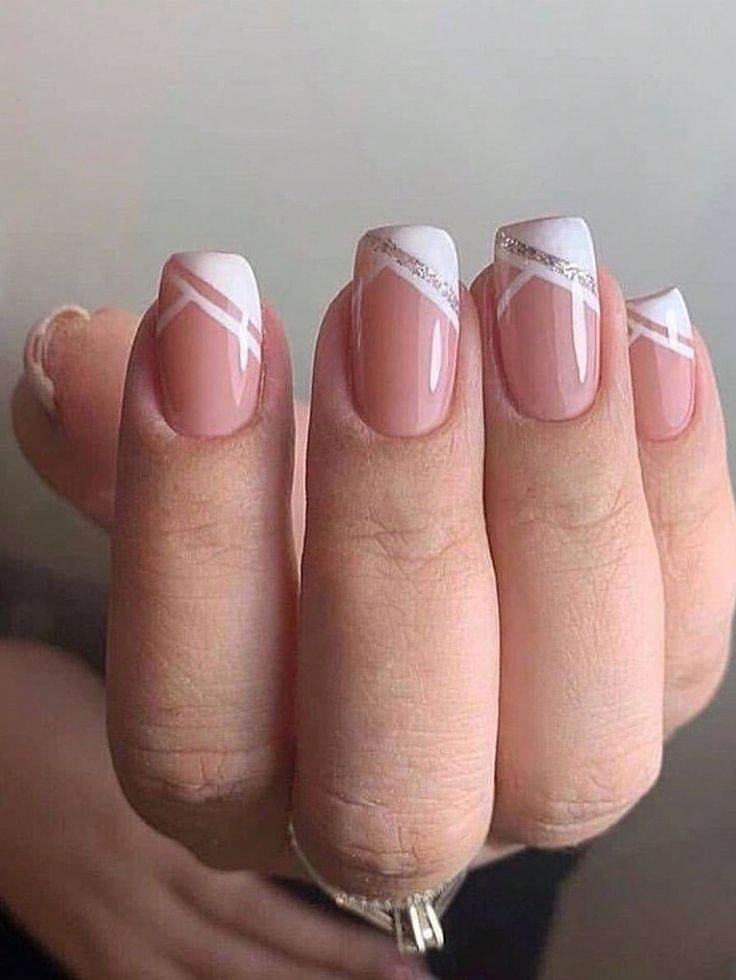
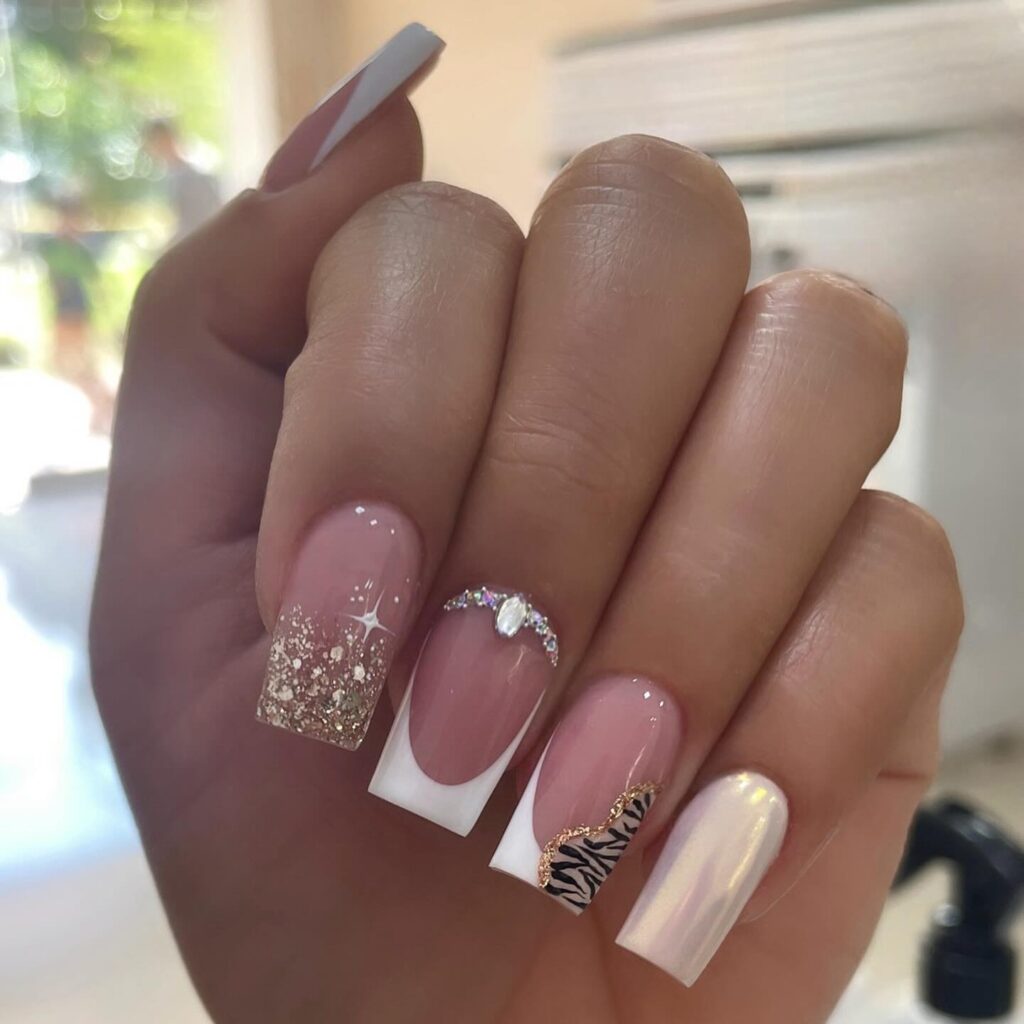
Scroll down to see all the pastel nails we found on Instagram.


Get ready to let your nails do the talking. Life is colorful, Live it.